As an Amazon Associate we earn from qualifying purchases.
Have you ever been scrambling last minute before leaving for a photoshoot because you’re trying to find where the heck you put your beloved 50mm lens or where that second light stand went?
As a rule of thumb, you should never be stressing about where your gear is, especially before a photo session. If you are, it’s time to figure out how to organize your photography gear at home so you can be prepared for every shoot!
How to Organize Your Photography Gear at Home
How you end up organizing your photo gear is dependent on several factors: how large your home is, if you have a studio that you store larger equipment at, and how much equipment you actually have.
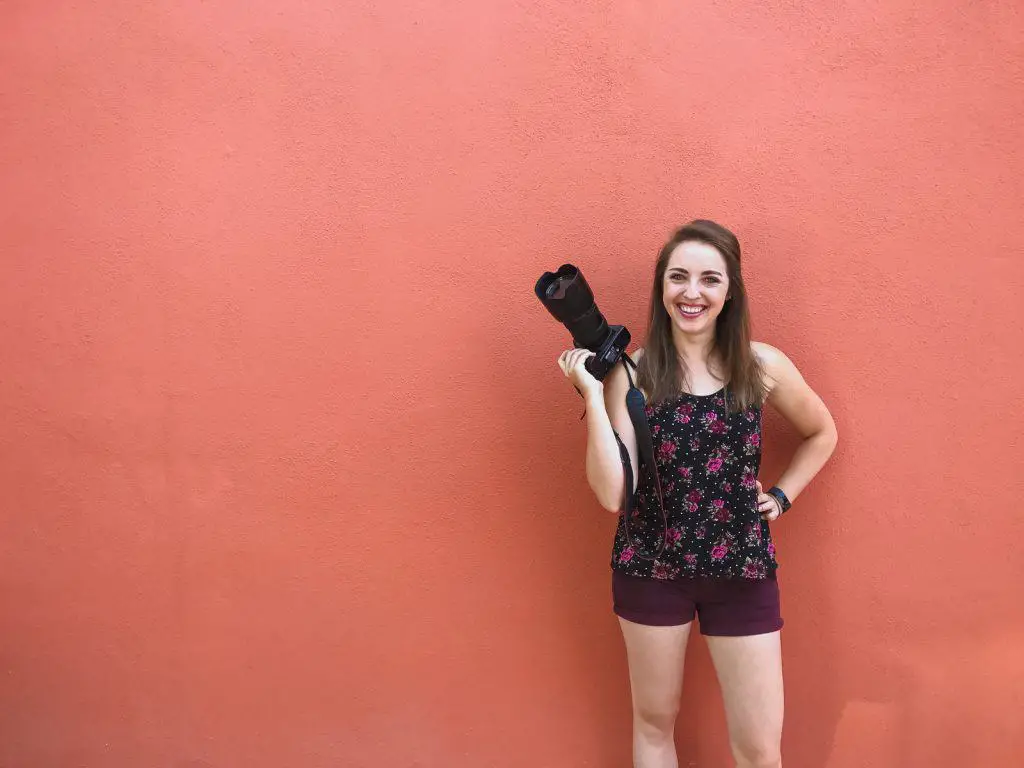
If I were to write this at the beginning of my career, I could have fit all my gear (meaning my one camera body and two lenses…) in a backpack. Over the years, I’ve accumulated quite the collection of gear, especially since my fiancé also shoots weddings!
We don’t have a photography studio to store any gear in, so I’ll be sharing how you can maximize the space you have at home to keep everything organized.
Place Larger Equipment in a Locked Garage
For equipment that takes up a lot of room, placing it in a locked garage is seriously a life (and space!) saver. We don’t have the biggest house, and I’ve pretty much maxed out all of our closet and office space with photography gear. Because of this, I had to get a little creative with where I stored larger equipment.
A while back, we converted our one car garage into a mini-home gym, and there was a corner of the garage that was still empty. This became the perfect place to store photo studio equipment like light boxes, giant white backdrops, light stands, umbrellas, and tripods.
What’s also convenient about placing these larger items in the garage is that when I do need to bring them to shoots, I don’t have to lug them all throughout the house and then outside to the car. If I’m bringing light stands and miscellaneous props for an engagement session, I can bring the car right up to the garage and load the gear from there.
Utilize a Closet
Personally, I’m a huge fan of using a closet to store photography gear at home. It keeps the gear in one main location, and if the closet gets a little messy, no one can see it. :)
In our house, we had a spare coat closet that I immediately converted into a gear closet. This is where the bulk of my gear lives. Within the closet, I have the gear organized by type. All of our camera bags and cases line the bottom of the shelf, while the camera bodies, lenses, and flashes sit up higher on a make-shift shelf.
When I come home from shooting an intimate elopement or engagement session, I make it a habit to unpack my gear, charge batteries, and place the camera bodies, flashes, and lenses into their proper spots in the closet.
Buy Shelving Units
Shelving units can work great within a closet if you have room for them, or they can act as a separate piece of furniture. Multi-tiered units are pretty functional, because each tier can be dedicated to a different piece of gear. For example, you might keep camera bodies on the top, lenses in the middle, and flashes on the bottom.
If you want to go the extra mile with your organization, use a label maker and actually label where each piece of gear should go within the shelf. This way, you know exactly where everything should be placed, and it’s really easy to see whether or not anything is misplaced.
Pro Tip: If you do place a shelving unit somewhere other than a closet, try to avoid placing it right by a window, especially near the front of your home. If you do need to keep it there, consider covering the top with a lightweight cloth to hide your expensive gear from view!
Use Storage Containers
I love storage containers; however, if used incorrectly, they can still make things feel disorganized. I’ve found the keys to using containers for organizing photo gear is proper labeling and not putting too much into each box.
Here’s a list of what I’d recommend keeping in bins:
- External hard drives
- Memory card readers
- USB cords
- Camera batteries + charger
- Flash batteries + charger
- Microfiber cloths
- Memory cards
- Camera straps
- Lens filters
- Extra lens caps
- Remote triggers (like transmitters and receivers)
If you place all of these items into one giant bin, it’s hard to keep everything accounted for. Instead, get smaller containers that are dedicated to specific items.
For example, you might have a photography gear box in your office near the computer for the following items: external hard drives, memory card readers, and USB cords. On the outside of the bin, list the items that can be found in there, along with how many of each there are.
I recommend using a Post-It Note so that you can easily adjust what the container is used for. Your labeling might look something like this:
- External hard drives: 3
- Memory card readers: 2
- USB Cords: 3
For the small storage containers that include items like batteries and chargers, keep them in the same general location that you are storing your cameras, lenses, and flashes. This way, you can easily charge your gear and replace the batteries.
This is a super simple way to know exactly what is in each container and how many of each item there should be! Just remember to actually place items back into their proper containers once you are done with them (I know I can struggle with this, especially after a long day of taking wedding photos throughout San Diego!).
Get Additional Camera Bags or Cases
Another option for organizing your gear is to keep everything within camera bags or cases. If you live in a small apartment or are limited on space, this organizational method might work best for you. Additionally, if you don’t have a lot of gear, purchasing an extra bag might be enough to hold all of your gear.
You can opt to get one large gear case, or you can get a few smaller camera bags. This is really up to your personal preference and is dependent on how much gear you actually own.
Pro Tip: If you don’t want to splurge for a camera bag but still want a way to protect individual pieces of gear, look at using makeup bags or purses with compartments. Both of these options can be perfect for holding lenses, and they can still fit on your shelves or in a closet.
Final Thoughts
It can be so easy to avoid unpacking your gear after a shoot and then just slowly take it out of your bag throughout the week, but don’t let this happen anymore. Just like you take time to organize and help plan out your couples’ wedding days, be sure you take time to organize how you store your photography gear so you can arrive to shoots stress-free!
Leave a Reply